
Here are the written directions for the princess necklace...
I used a 2.25 mm hook for the flower and size 3 crochet thread.

Here's better directions for the flower...

Now for the pictures:

Here is the finished base with it's 47 stitches worked in a spiral and in back loop only. Using black thread I marked the stitch where the first petal starts.

This picture shows the first petal.

Now the first 7 petals are done.

All petals finished and a chain stitch at the end.

This is what the back side looks like.

Pick an unworked back loop and do a slip stitch to anchor down the last petal.

Like this.

The front all done. = )

The back all done. I didn't weave in the ends because I'm going to cover the back with some felt so I only clipped the ends to fit within the back. Don't cover it with felt yet, though. Wait until after you attach it to the necklace.
Now for the necklace...
 Here is the chain and first row of single crochet done. Work the single crochet in the top loop only of the chain. I folded the necklace in half and marked it with a pin so I know where the center is.
 Do the single chrochet, chain 5, skip the next 4 single crochet, then single crochet, chain 5 etc... up until you reach where the pin is (it's not always exact, the pin just gives you a good idea where the center is). Single crochet, chain 5, single crochet in one stitch as shown. This is where the flower will hang from. Then continue on with the chain 5, skip the next 4 single crochet, then single crochet, chain 5 etc... (If you want to make the necklace longer, add to the beginning chain in incriments of 20) When you get to the end, chain 2 and turn. Don't mess with the button hole yet. (the button hole is the 8 chains you skipped before working the single crochet row.)
 As the pattern shows, chain 2 then turn. Work 12 dc in the first chain 5 space. Then single crochet in the next chain 5 space. Work a picot on top of the single crochet. This is how I work picots so that it sits on top of the stitch instead of between stitches... chain three, then do a slip stitch where the pin is pointing to.. it's kind of doing a back stitch because you're slip stitching through the top of the single crochet that is the base of the picot. I hope that makes sense... it's kinda hard to explain..
 Here is the picot all done.
 continue on with dc in the next chain 5 space, ...
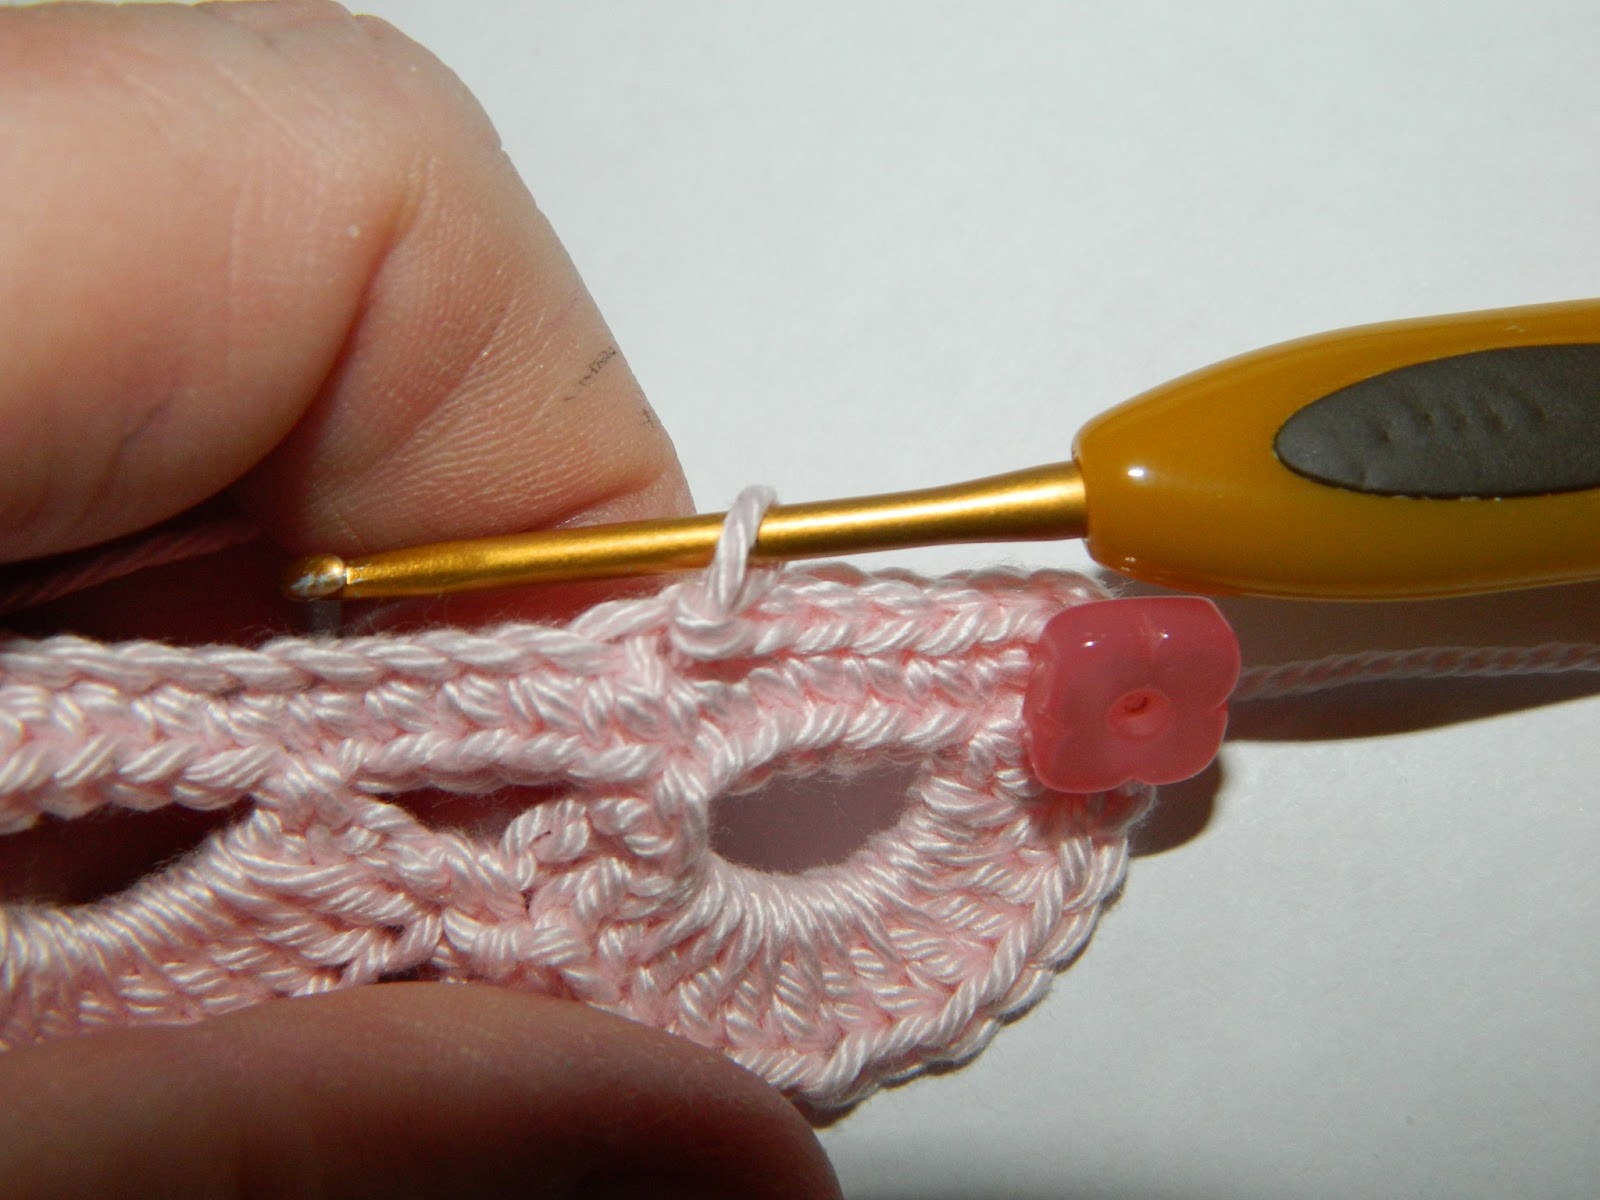
 Here is the center front of the necklace. Do 6 dc then attach the flower ...
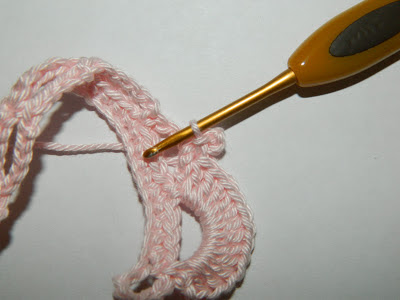
 Notice the position of the flower. Put the hook through one of the unworked back loops on the flower.
 Draw the yarn through and work a single crochet. Do it again on the next unworked loop on the left. This anchors the flower to the necklace in 2 places making it less likely to twist..
 Then finish out the 6 dc.
 It should look like this:
 Here is the back side...
 Finish out the row. Single crochet down onto the first single crochet of the previous row. To attach the button, use some thread. Put it through the yarn loop and then through the button. Pull the button onto the yarn.
 so that it looks like this:
 Put the hook back in the yarn loop and pull the yarn snug.
 Yarn over and pull the yarn through the loop. This secures the button.
 Now slip stitch along the inside edge of the necklace. The slip stitch goes along the bottom side of the beginning chain. This is easier to do if you did the orginal single crochet row in the top loop only of the chain.
 When you get to the 8 chains you skipped when starting the single crochet row, this is the button loop. Single crochet as many as you want in here. If you button is small, you may only want to do 8 or so. If you have a larger button you may want to stretch it out by doing more single crochet.


 All done!
 Here is what the back looks like after some felt is glued on.
 Pretty as a princess!


Now for the necklace...


Button hole complete.

Now slip stitch it to the chain 2 that started the 12 dc....

Remove the hook from the loop. Use the hook to pull the loop through to the back.

Remove the hook again.

Cut the yarn leaving a 3 or 4 inch tail. Put the hook back in the loop and pull the tail through. Pull it snug.

Now weave the ends in and you're done!


UPDATE!! = )
Here is a new, improved and easier way to do the roses....
Work the 46 stitches in a spiral as originally shown. (yes, only do 46 stitches, not 47...). Instead of cutting the yarn and going back to the center and working the petals, chain 1 and turn. Work 46 single crochets in the back loops then in the unworked loops. Chain 1 and turn and work petals as shown. This gives you less ends to work in and the flower is prettier - at least I think so!

This yarn is a beautiful dark red but it just didn't photograph properly... and the background is supposed to be much blacker.... oh well..

Here is the new version of the flowers on some necklaces.
No comments:
Post a Comment