If you've ever wondered how to crochet a nice cone, like you'd want for a gnome hat, then here ya' go.. = )
Here is a the finished hat using these instructions...
Make a chain as long as you need for the size you want. Join it into a circle using a slip stitch.
In the next chain, single crochet.
Continue single crocheting around. This is worked in the round so keep going until you have 2 rows of single crochet completed.
Place a pin 5 stitches from the end of row 2.
Single crochet around again until you reach the pin.
Move the pin back 5 stitches and insert it.
In the next two stitches, do two single crochet's together - this is a stitch reduce. You are making this row one stitch shorter than the last one.
Single crochet around until you reach the pin again. Move the pin back 5 stitches, crochet 2 together in the next 2 stitches, reducing the row count by 1 again... crochet around until you reach the pin.... and on and on...
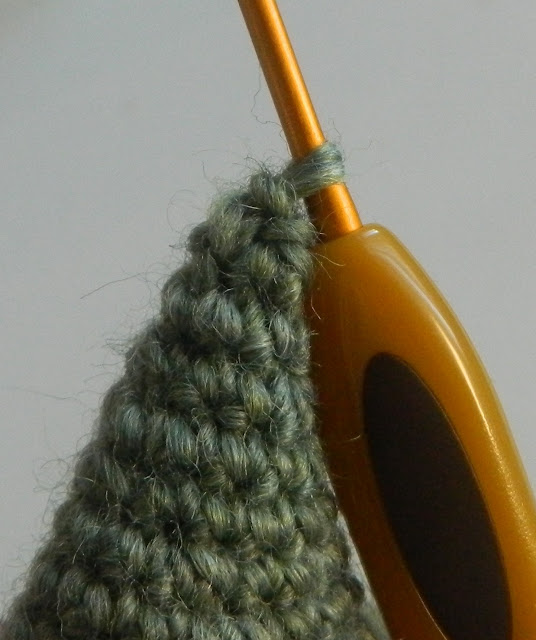
Here it is about 1/4 to 1/3 of the way done. You can see the gradual sloping in..
When you get to this point, the pin comes out. Put 3 single crochet's between the stitch reduce two (or so) times, then put 2 single crochet's between the stitch reduce, then one for a few times until the hole is closed up. You just have to kinda eye-ball it at this point. = )
The top is closed!
Chain 3.
Cut the yarn (leave a tail several inches long), pull the tail through. Then insert hook inside cone and pull the yarn inside.
Pull the tail tight until the point is as you want it.
All done!


