Friday, June 29, 2012

crocheted leaf

So I found another really cool crochet thing on Pinterest with no clear directions..(they were written in Russian...)  My version is not exactly like the one I copied but it's close. 

First, the written directions and a few diagrams...


Here is my leaf on the left and a picture of the leaf on Pinterest on the right...


                                 What I did with the leaves I made while trying to figure them out!


           Sugar Scrub                  Facial Cleanser          Timeless Facial Serum          Timeless Cream


Thursday, June 21, 2012

My new church bag


It's big enough to hold the quiet books, the other books, the quiet toys and the baggie of Cheerios!

Wednesday, June 20, 2012

crocheted cardigan..revised..

ok. So I saw this fabulous cardigan on Pinterest but it is an Asian pattern posted on a Russian blog..  Google Chrome's translator wasn't much help so I tried to figure it out...


Since posting this (I know, I should have double checked this before posting it originally.. sorry ) I have noticed several differences in my diagrams and the picture... I think this fixes all that..  


New border pattern... this one works better.


Saturday, June 9, 2012

crocheted crocodile stitch flower tutorial

I realized that my previous instructions for the flower and pincushion needed some help..  I had a bit of yarn left over so I decided to make another flower and photograph as I went along..  First, though, I wrote up the pattern so it's easier to follow - I hope...
 I used smaller yarn for the center.  I used a 2.5 mm hook.


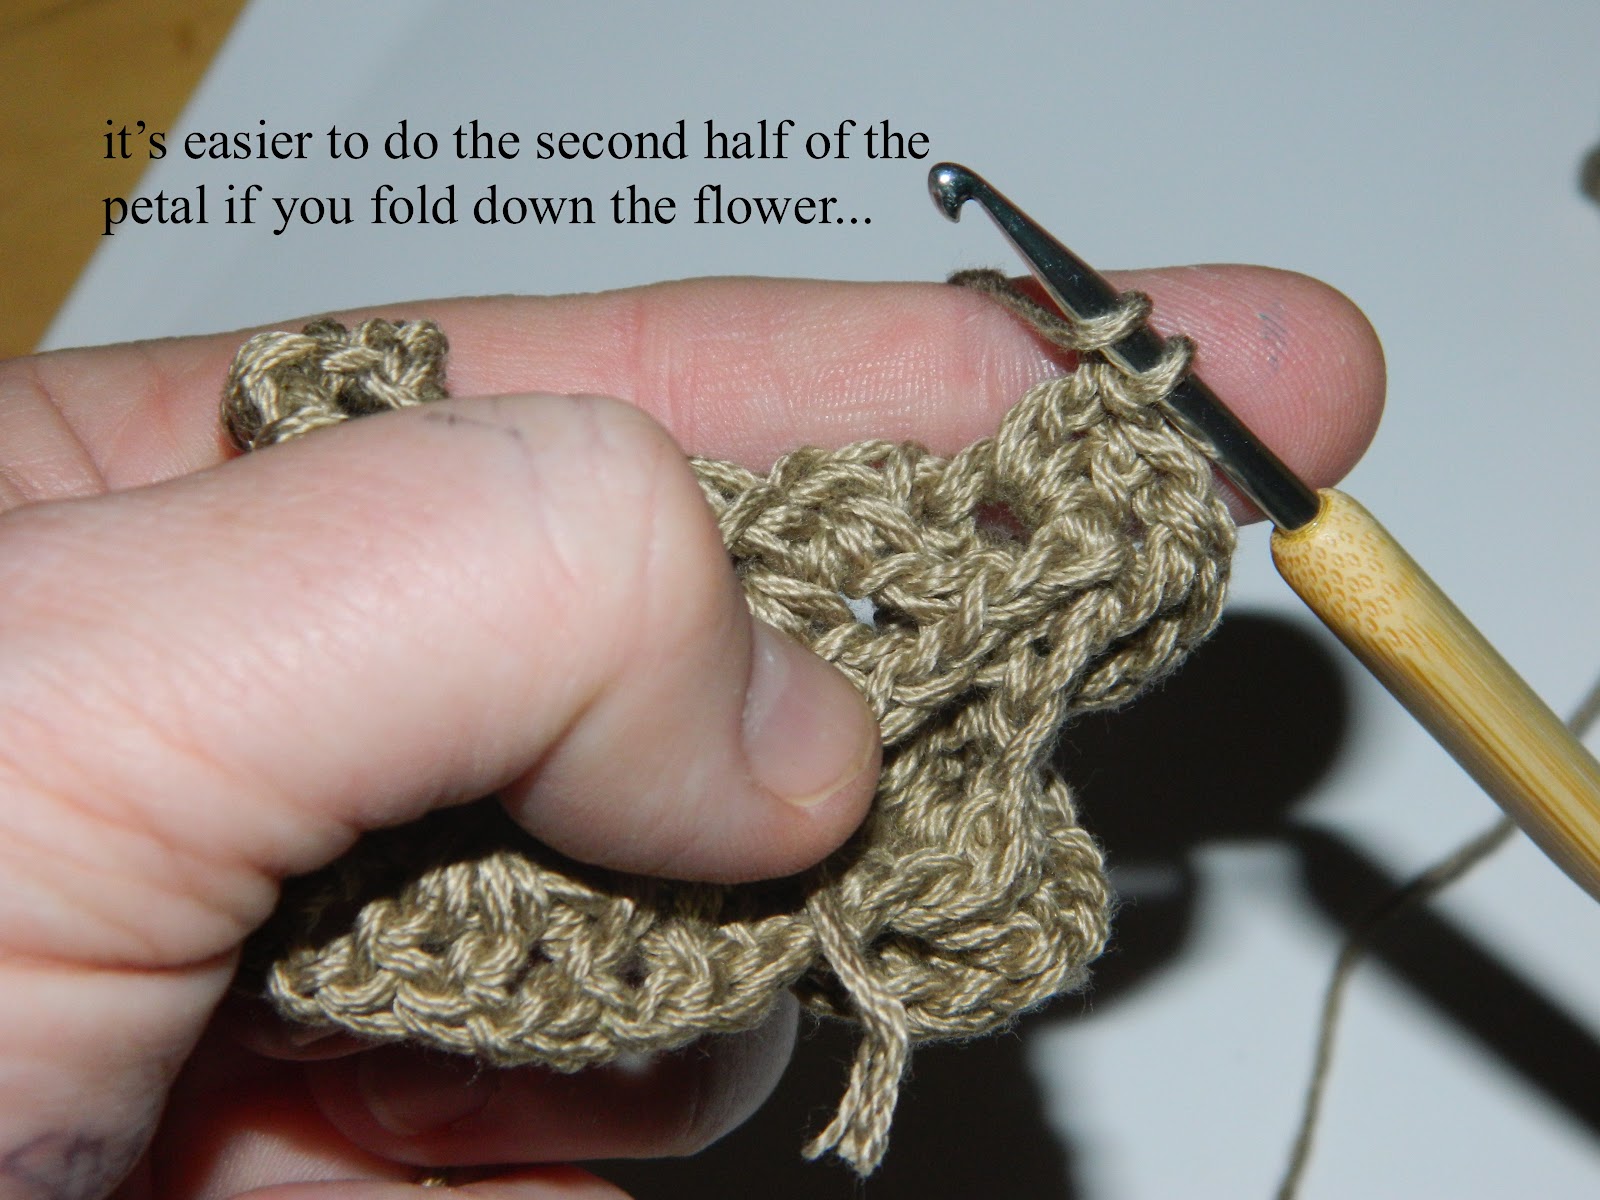
 for the flower, I used a larger yarn and a 3.0 mm hook.  The photos start with the end of row 3 - showing how to do row 4.
                                                            Starting Row 4


                          In case your wondering, the stitch used for the petals is called the crocodile stitch.


you might notice that my finished flower only has 7 petals while the instructions have you make 10 (or 11... I don't know how that happened..).. I didn't have enough yarn to make all the petals so I reduced row 1 to 7  (dc, ch 1)'s.  All the other rows are the same.  For the center I just eliminated row 4.    I think I like the 7 petal version better than the 11 petal one....


Thursday, June 7, 2012

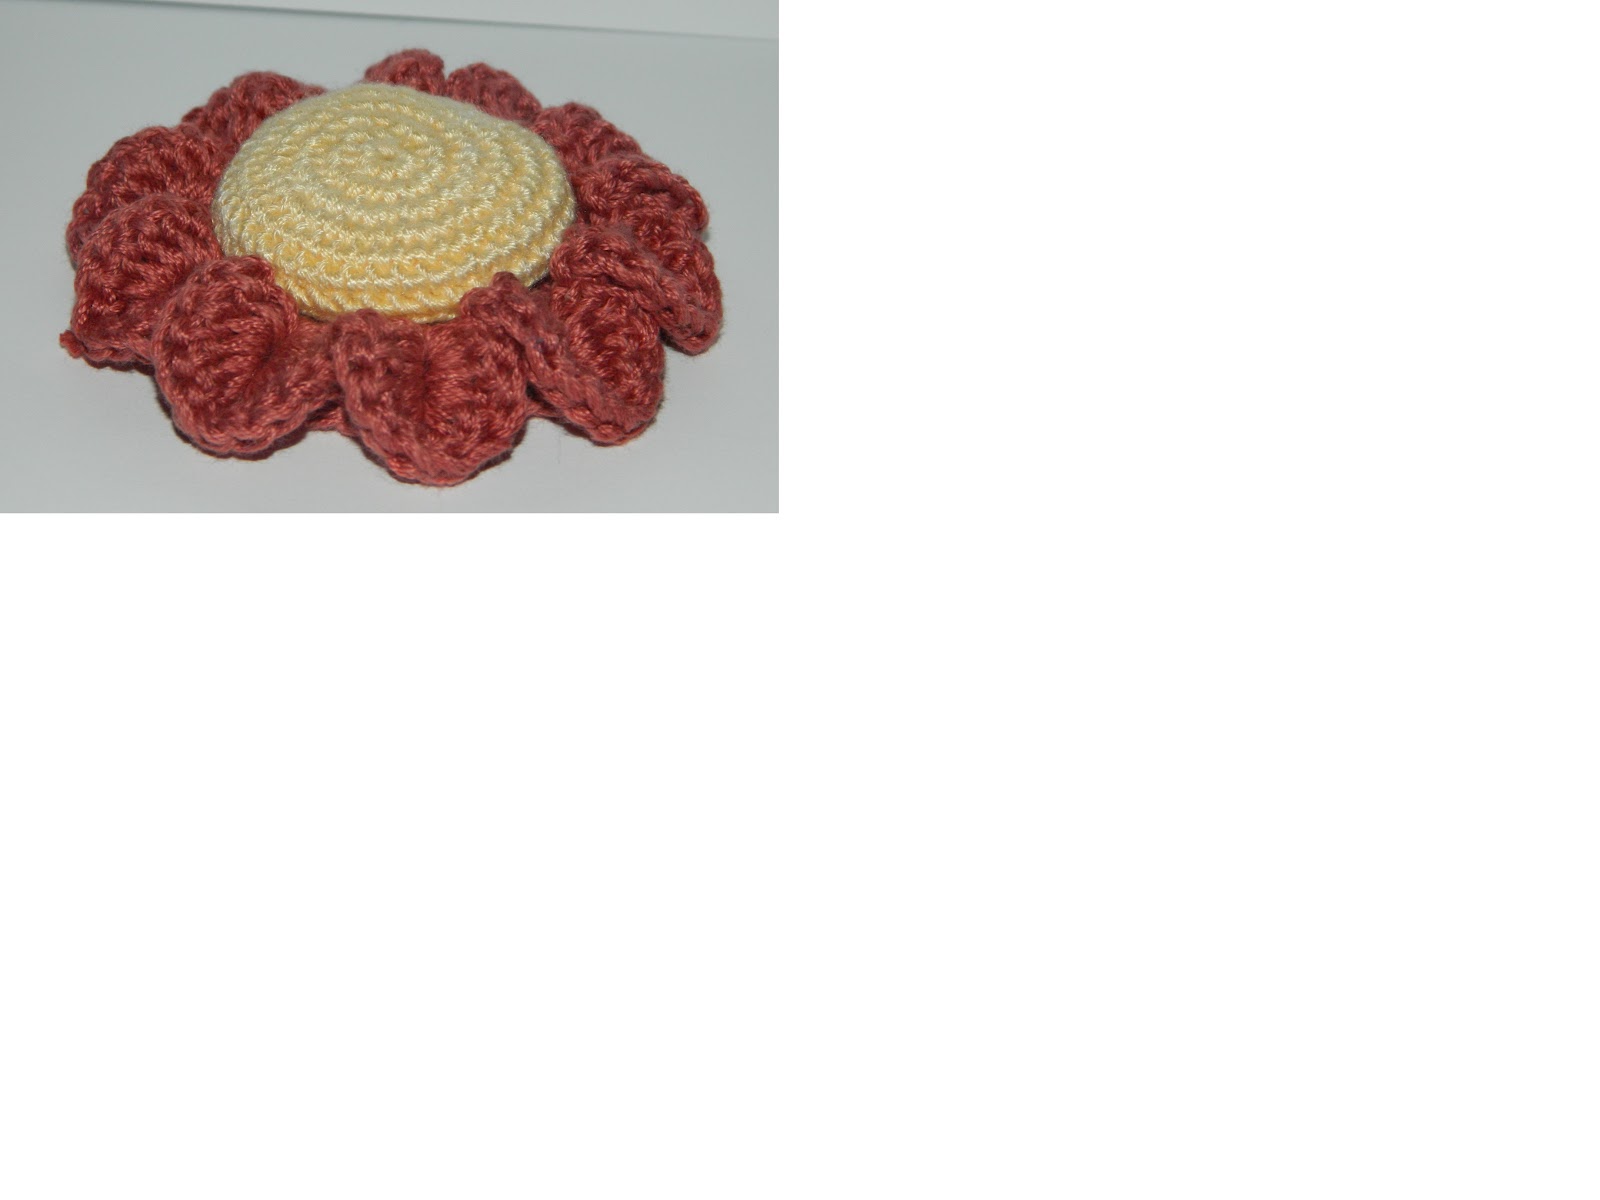
Crocheted Flower Pin Cushion

Crocheted Flower Pin Cushion

Written directions and diagram...
                                 Here are the flower parts with the top and bottom views of the center.


 Flower with regular center

Pincushion with raised center.   To make it taller, do 6 rows of straight single crochet instead of 3..


Wednesday, May 30, 2012

Crocheted Beach Bag Lining Instructions

Crocheted Beach Bag lining instructions


The bottom of the bag.  I started with Chain 6 and it is all single crochet on the bottom and 3 rows up the side.  Make the bottom however big you want.  On the last row for the bottom make sure you have the correct stitch count to allow for the decorative stitch you are going to use on the body of the bag.  The stitch I used needed multiples of 8.

First measure the bottom.  
Trace around to get a rough shape then  fold the paper into fourths to make it even.  


        Make sure the pattern fits inside the bag.  I had to trim this one a few times to get it to fit right.

Then I traced it onto my Walmart clearance place mat and cut it out.  Since the mat was big enough for 2, I cut 2 then stuck them together to make it sturdier.

I had to trim this one too to get it to fit.

       Measure the top of the bag to get a pattern for the lining.  Make it taller than the sides of the bag.  For the handles I sewed a tube the correct width then pined it to the handles.  Sew the handle lining on first.

 Here's the lining sewn into the bag.  With a needle and thread I made a running stitch around the bottom of the lining and gathered it.  The bottom that I cut out of the place mat goes on top of this.  Sometimes I cover the bottom in fabric too but this time I decided not to.  Usually I glue down gathered fabric then glue the new bottom on top but since this is intended for the beach I wanted to be able to remove  the bottom so I can shake the sand out...

  detail of the hand stitching sewing the lining to the bag

                           
The finished bag from the top.  I had to cut down the bottom several times again... which means that the top of the bag is smaller than the bottom.  I should have done a better job of measuring.  = /

 The stitch I used around the top and handles of the bag.  It came out of the Crochet! magazine Summer 2012 issue.  Since I hate written instructions I make samples and diagrams of the stitches I like and put them in a book for convenience. = )
This is the stitch I used for the body of the bag.  It also came from the Crochet! magazine 
Summer 2012 issue.